Unlock the secrets to baking the perfect homemade bread! Our step-by-step guide ensures you achieve a golden-crusted, flavorful loaf every time. We’ll share insider tips, essential techniques, and simple steps to transform simple ingredients into delicious, satisfying homemade bread. This guide covers everything from choosing the right flour to mastering the kneading process.
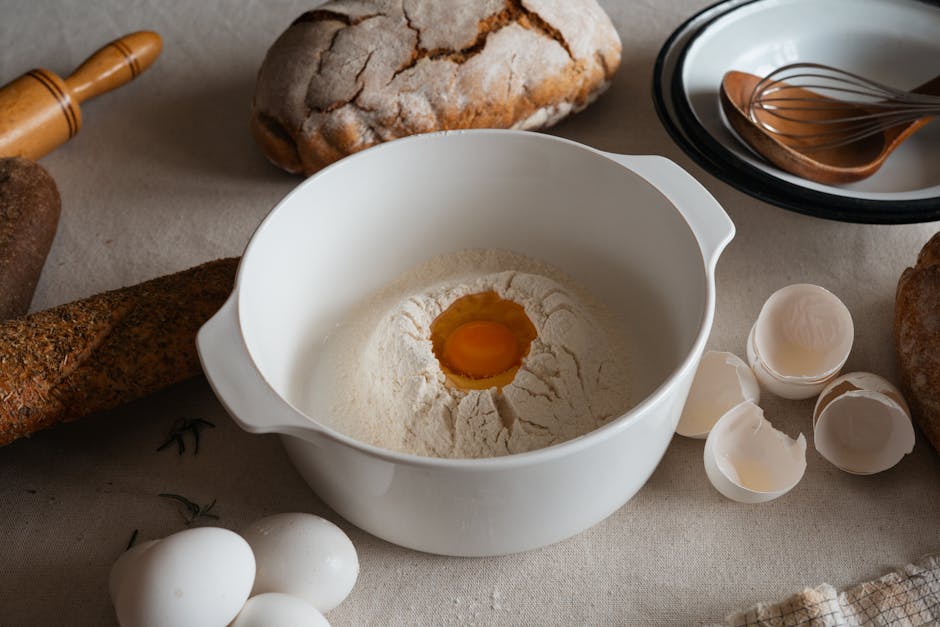
Ingredients
- Bread Flour: 4 cups (500g), plus more for dusting
- Active Dry Yeast: 2 1/4 teaspoons (7g), or one packet
- Warm Water: 1 1/2 cups (360ml), lukewarm (105-115°F or 40-46°C)
- Salt: 2 teaspoons (12g)
- Honey or Sugar: 2 tablespoons (30ml) (optional, for feeding the yeast and adding flavor)
- Olive Oil: 2 tablespoons (30ml), plus more for greasing the bowl
Equipment Needed
- Large Mixing Bowl
- Measuring Cups and Spoons
- Kitchen Scale (recommended for accuracy)
- Dough Scraper (optional, but helpful)
- Clean Kitchen Towel
- Baking Sheet
- Parchment Paper (optional, but prevents sticking)
- Oven
- Wire Rack
Preparation Time & Servings
Prep Time: 25 minutes
Cook Time: 30-35 minutes
Total Time: 3 hours (includes rising time)
Servings: 1 large loaf
Step-by-Step Instructions
- Proof the Yeast: In a large mixing bowl, combine the warm water and honey (or sugar, if using). Sprinkle the active dry yeast over the water. Let it stand for 5-10 minutes, or until the yeast becomes foamy. This step is crucial as it confirms that your yeast is alive and active, which is essential for the bread to rise properly. If the yeast doesn’t foam, it may be old or inactive, and you’ll need to start with a fresh batch.
- Combine Wet and Dry Ingredients: Add the olive oil and salt to the yeast mixture. Stir to combine. Gradually add the bread flour, one cup at a time, mixing with a wooden spoon or dough scraper until a shaggy dough forms. Bread flour has a higher protein content than all-purpose flour, resulting in a chewier, more structured loaf.
- Knead the Dough: Turn the dough out onto a lightly floured surface. Knead the dough for 8-10 minutes, or until it becomes smooth and elastic. To knead, push the dough away from you with the heel of your hand, then fold it back over itself. Rotate the dough 90 degrees and repeat. If the dough is too sticky, add a little more flour, one tablespoon at a time. Properly kneading the dough develops the gluten, which gives the bread its structure and texture.
- First Rise: Lightly grease a large mixing bowl with olive oil. Place the kneaded dough in the bowl, turning to coat all sides. Cover the bowl with a clean kitchen towel or plastic wrap. Let the dough rise in a warm place for 1.5-2 hours, or until it has doubled in size. The rising time will vary depending on the temperature of your environment. A warm environment encourages the yeast to ferment and produce carbon dioxide, causing the dough to rise.
- Punch Down and Shape: Gently punch down the risen dough to release the air. Turn the dough out onto a lightly floured surface. Shape the dough into a loaf. You can either shape it into a classic oblong loaf or try a round boule shape. To shape an oblong loaf, flatten the dough into a rectangle, then roll it up tightly from one end to the other. Tuck the ends under to create a smooth surface.
- Second Rise: Place the shaped loaf on a baking sheet lined with parchment paper. Cover the loaf with a clean kitchen towel. Let it rise for another 30-45 minutes, or until it has noticeably puffed up. This second rise allows the dough to relax and develop further flavor.
homemade bread, baking, bread dough - Preheat Oven: Preheat your oven to 375°F (190°C). Make sure your oven rack is in the center position.
- Bake the Bread: Just before baking, score the top of the loaf with a sharp knife or bread lame. Scoring allows the bread to expand evenly during baking and prevents it from cracking randomly. Bake for 30-35 minutes, or until the loaf is golden brown and sounds hollow when tapped on the bottom.
- Cool the Bread: Remove the baked bread from the oven and transfer it to a wire rack to cool completely before slicing. This allows the internal moisture to redistribute, resulting in a less gummy texture. Resist the urge to cut into it while it’s still hot!
Chef’s Tips for Success
- Use a kitchen scale for accurate measurements: Baking is a science, and precise measurements are crucial for consistent results. A kitchen scale provides the most accurate way to measure ingredients, especially flour.
- Control the water temperature: The water used to proof the yeast should be lukewarm, between 105-115°F (40-46°C). If the water is too hot, it can kill the yeast. If it’s too cold, the yeast won’t activate properly.
- Don’t over-knead the dough: Over-kneading can result in a tough loaf. Knead the dough until it’s smooth and elastic, but not overly firm.
- Let the dough rise in a warm place: A warm environment encourages the yeast to ferment and produce carbon dioxide, causing the dough to rise. Avoid drafty areas or cold countertops. You can also proof the dough in a slightly warmed oven (turned off!).
- Score the loaf before baking: Scoring the top of the loaf allows it to expand evenly during baking and prevents it from cracking randomly. Use a sharp knife or bread lame for a clean cut.
Serving Suggestions
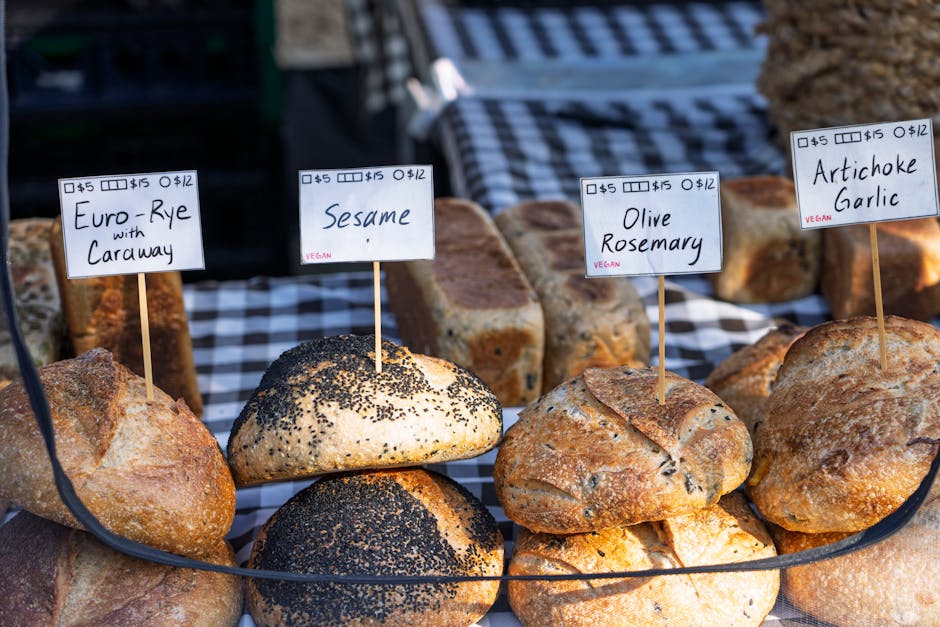
Enjoy your homemade bread fresh out of the oven with a pat of butter or a drizzle of olive oil. It’s also delicious toasted and served with jam or avocado. Use it to make sandwiches, grilled cheese, or French toast. Homemade bread pairs perfectly with soups, stews, and salads.
Conclusion
Congratulations! You’ve successfully baked a loaf of delicious homemade bread. With a little practice, you’ll be able to create perfect loaves every time. Enjoy the aroma and taste of your freshly baked creation, and share it with friends and family. Don’t be afraid to experiment with different flours, flavors, and shapes to create your own signature bread. Happy baking!