Craving homemade bread but avoiding gluten? Master gluten-free baking with our easy, step-by-step guide! This recipe shows you how to bake delicious gluten-free bread at home, with simple instructions and helpful tips to ensure baking success every time. Say goodbye to store-bought gluten-free bread and hello to warm, crusty loaves fresh from your oven!
Ingredients
- Gluten-Free All-Purpose Flour Blend: 3 cups (choose a blend that includes xanthan gum)
- Active Dry Yeast: 2 1/4 teaspoons (1 standard packet)
- Granulated Sugar: 1 tablespoon
- Salt: 1 1/2 teaspoons
- Warm Water: 1 1/4 cups (heated to between 105-115°F/40-46°C)
- Olive Oil: 2 tablespoons, plus more for greasing the bowl and pan
- Apple Cider Vinegar: 1 tablespoon
- Egg or Flax Egg: 1 large egg, lightly beaten (or a flax egg made with 1 tablespoon ground flaxseed meal mixed with 3 tablespoons warm water, let sit for 5 minutes to thicken)
Equipment Needed
- Large Mixing Bowl
- Measuring Cups and Spoons
- Whisk
- Wooden Spoon or Spatula
- 9×5 inch Loaf Pan
- Clean Kitchen Towel
- Wire Rack
Preparation Time & Servings
Prep Time: 25 minutes
Rise Time: 1 hour 30 minutes
Cook Time: 40 minutes
Total Time: 2 hours 35 minutes
Servings: 1 loaf (approximately 12 slices)
Step-by-Step Instructions
- Activate the Yeast: In a large mixing bowl, combine the warm water and sugar. Sprinkle the active dry yeast over the top and let it sit for 5-10 minutes until foamy. This step ensures that the yeast is alive and active, which is crucial for the bread to rise properly. If the yeast doesn’t foam, it’s likely dead, and you’ll need to start with a fresh packet.
- Combine Wet and Dry Ingredients: Once the yeast is foamy, add the olive oil, apple cider vinegar, and egg (or flax egg) to the bowl. Whisk everything together until well combined. In a separate bowl, whisk together the gluten-free all-purpose flour blend and salt. Gradually add the dry ingredients to the wet ingredients, mixing with a wooden spoon or spatula until just combined. The batter will be quite wet and sticky, which is normal for gluten-free bread.
- First Rise: Grease a large mixing bowl with olive oil. Transfer the dough to the greased bowl, turning to coat all sides. Cover the bowl with a clean kitchen towel and let it rise in a warm place for 1 hour to 1 hour 30 minutes, or until doubled in size. The rising time may vary depending on the temperature of your kitchen. A warm environment helps to activate the yeast and promotes a good rise.
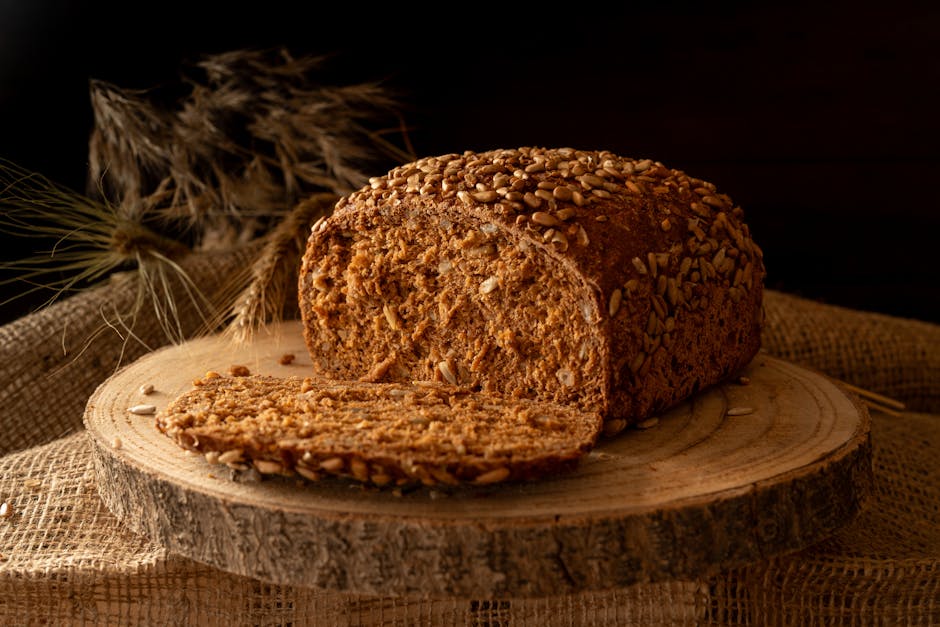
gluten-free bread, gluten-free baking, homemade bread - Shape the Dough: Gently punch down the dough to release any air bubbles. Turn the dough out onto a lightly floured surface (use gluten-free flour). Shape the dough into a loaf shape, being careful not to overwork it. Gluten-free dough is more delicate than traditional dough, so handle it gently.
- Second Rise: Grease a 9×5 inch loaf pan with olive oil. Carefully transfer the shaped dough to the prepared loaf pan. Cover the loaf pan with a clean kitchen towel and let it rise for another 30 minutes in a warm place. This second rise allows the bread to develop its final shape and texture.
- Bake the Bread: Preheat your oven to 375°F (190°C). Once the second rise is complete, bake the bread for 40-45 minutes, or until the crust is golden brown and the internal temperature reaches 200-210°F (93-99°C) when measured with a food thermometer. If the crust starts to brown too quickly, you can tent the loaf with aluminum foil for the last 15-20 minutes of baking.
- Cool the Bread: Remove the baked bread from the oven and let it cool in the loaf pan for 10 minutes before transferring it to a wire rack to cool completely. Cooling the bread completely before slicing is essential to prevent it from becoming gummy.
Chef’s Tips for Success
- Use the Right Flour Blend: Gluten-free flour blends vary greatly, so it’s important to choose one that is specifically designed for bread making and includes xanthan gum. Xanthan gum acts as a binder, replacing the gluten that is missing in gluten-free flours and providing structure to the bread.
- Don’t Overmix the Dough: Overmixing gluten-free dough can result in a tough and dense bread. Mix the ingredients until just combined, and avoid kneading.
- Proof the Yeast Properly: Ensure the water is at the correct temperature (105-115°F/40-46°C) when activating the yeast. Too hot or too cold water can kill the yeast.
- Let the Bread Cool Completely: Resist the urge to slice into the bread while it’s still warm. Cooling the bread completely allows the starches to set, resulting in a better texture.
- Use a Bread Thermometer: A bread thermometer is a great tool to ensure that your bread is fully cooked. Insert the thermometer into the center of the loaf, and bake until the internal temperature reaches 200-210°F (93-99°C).
Serving Suggestions
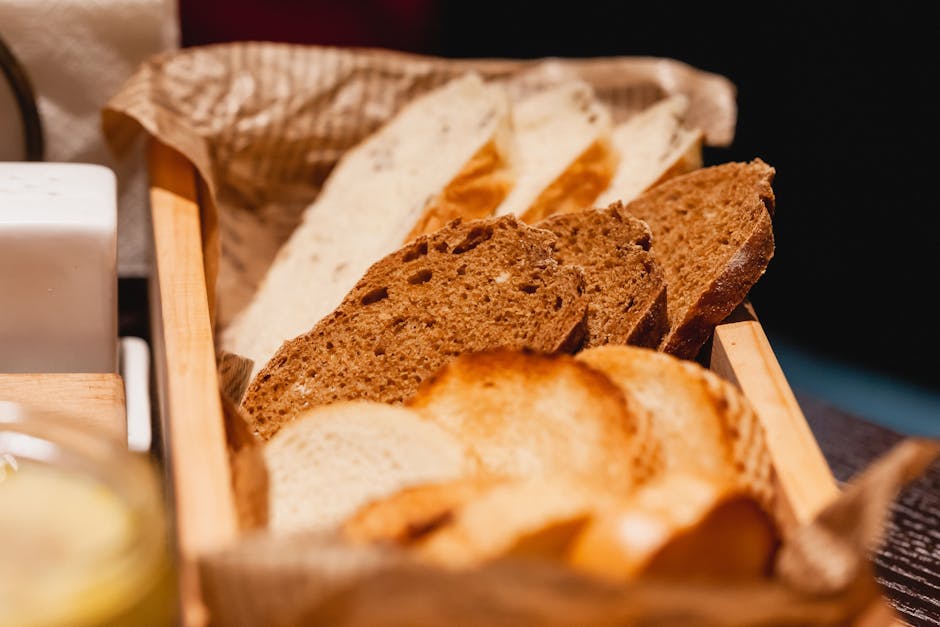
Enjoy your freshly baked gluten-free bread toasted with butter or jam, use it to make sandwiches, or serve it alongside your favorite soup or stew. It also pairs well with avocado and a sprinkle of everything bagel seasoning for a delicious and satisfying snack. For variations, consider adding herbs, seeds, or dried fruit to the dough before baking.
Conclusion
Congratulations! You’ve mastered the art of baking delicious gluten-free bread at home. This recipe provides a simple and reliable way to create a warm, crusty loaf that everyone can enjoy. So gather your ingredients, follow the steps, and savor the satisfying aroma and taste of homemade gluten-free bread. We hope you’ll try this recipe and experience the joy of gluten-free baking!